Reverse Engineer a Database with Embarcadero ER/Studio Data Architect
-
Posted on February 26, 2013 by sqlservercowboy
-
2
In this first of the series articles on Reverse Engineering and Data Modeling, we will be going through a simple example on how easy it is, for us to reverse engineer an existing SQL Server Database into a ER Model in just 5 easy steps! Did you just say 5, Yes!
![]()
Prerequisites / Steps
- Download a 14-day free trial copy of Embarcadero ER/Studio Data Architect
- Any database with sample data in it
- Connect to the Sample Database from ER/Studio
- Follow the wizard with a few clicks
- Voila! You now have a ready to use ER Model for that Sample database
Download
First, download and install your 14-day free trial copy of Embarcadero ER/Studio Data Architect.
Activate the Product
Please follow these steps to register for an Embarcadero Developer Network (EDN) account and activate the product.
- To register for an EDN account, please register here.
- Once you have registered, you will need to activate your account (The email sent to your Email ID)
- Enter your Serial # and EDN credentials(Email ID and Password registered during EDN account creation) in the Registration Dialog.

Reverse Engineer Your Database
In this example we’ll reverse engineer a SQL Server 2012 Database from ER/Studio Data Architect. The actual database we’ll use is the example database Pubs. You may choose to use the same by downloading the pubs, Northwind or AdventureWorks Sample Databases from Microsoft’s codeplex website.
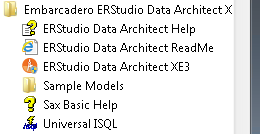
Now let us launch ER/Studio Data Architect by clicking on:
Start –> All Programs –> Embarcadero ERStudio Data Architect XE3 –> ERStudio Data Architect XE3 (as shown in the figure below)
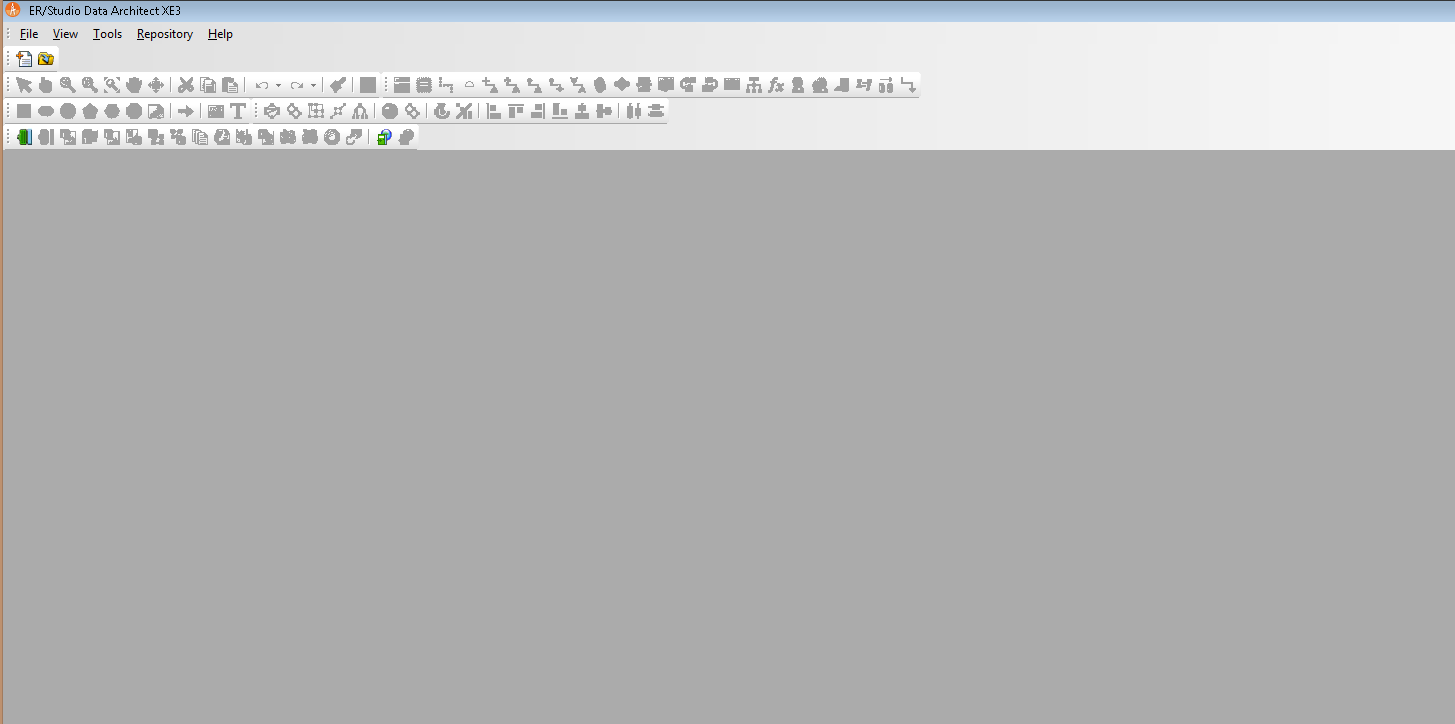
Once the product is launched you will be presented with the following Canvas as shown below
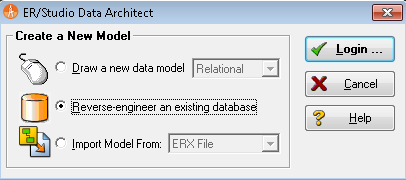
To begin the process of reverse engineering, we will need to click on
File –> New –> Reverse Engineer an existing database and click on the Login button
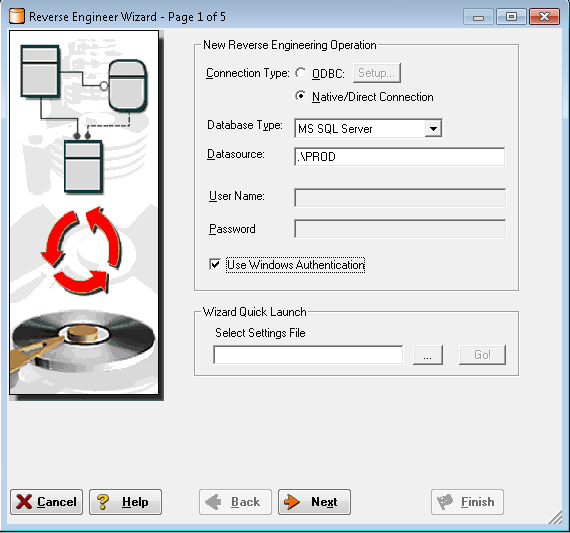
In the next screen you will be presented with the Wizard, asking for the SQL Server Credentials and choice of Authentication. In our example, we have specified our instance name for the server and have chosen Windows Authentication as a best practice.
In the next screen, we are presented with a choice to pick the database of choice.
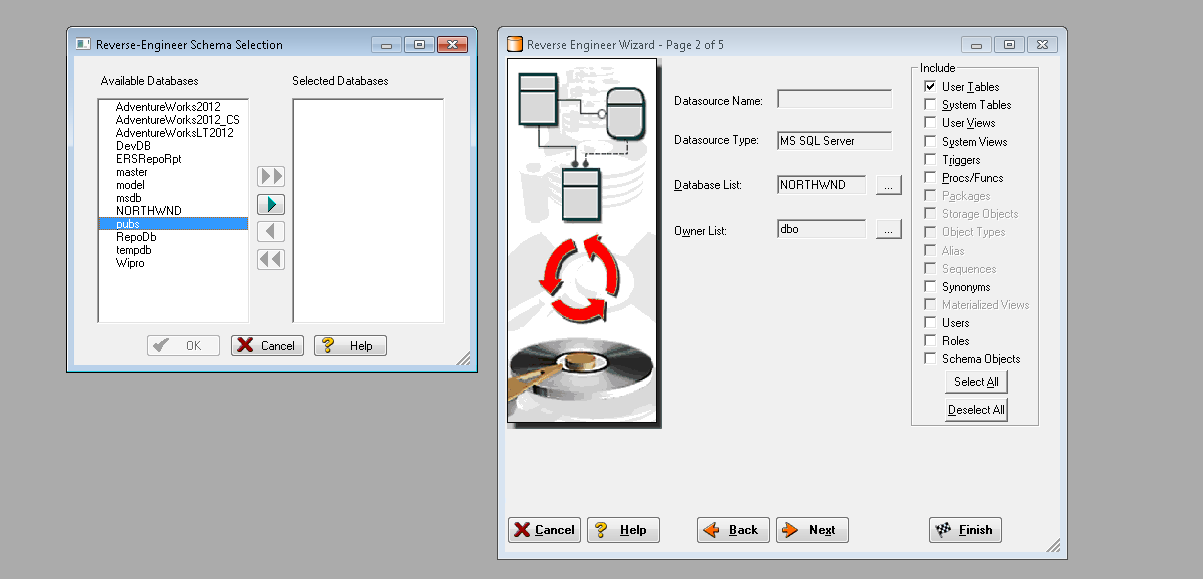
Click on the Database List Ellipse and you can choose the database of choice by clicking on the Single Right Arrow button, in my case, I have chosen the pubs database.
Click on the User Tables checkbox for now and click next
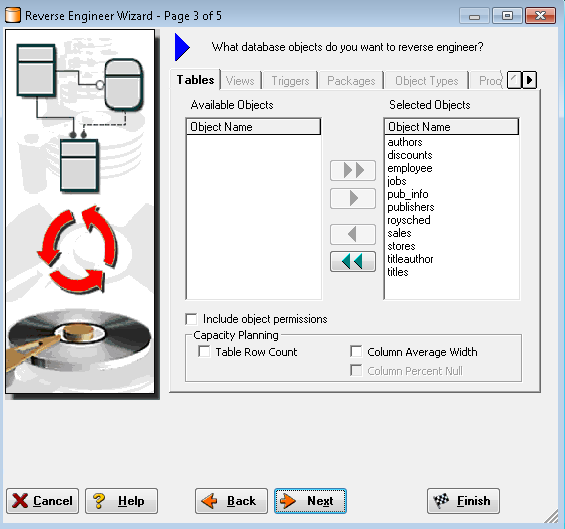
We will leave the table list as default and click on Finish to complete this process.
Now let ER/Studio do the Magic for us!
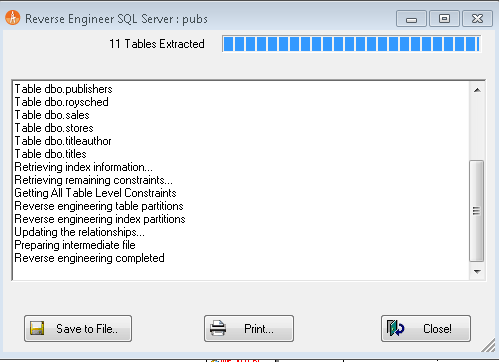
Click on the Close button.
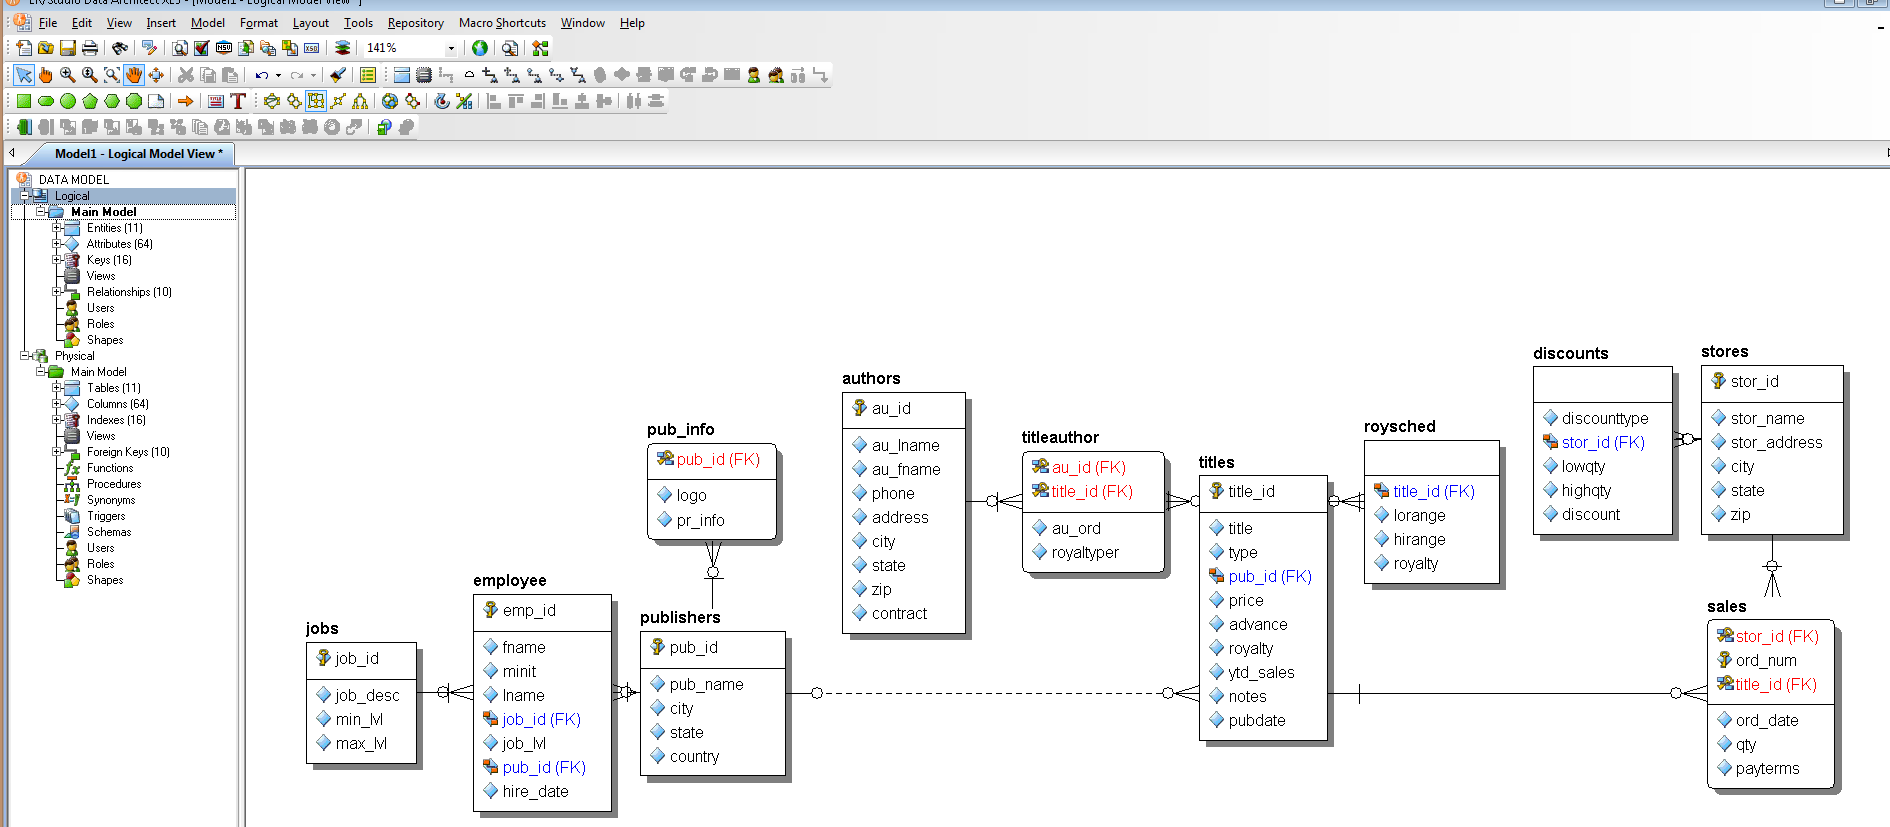
The final Model looks like the one shown below. It has generated both the Logical and Physical Data Model.

This completes this first article in the series. In the next series, we shall explore on how to build a Data Model from Scratch.
This is Anil Mahadev. I am the Principal Software Consultant and Solutions Architect at Embarcadero Technologies. I take care of Pre-Sales and Solutions for our Database products for the India Office. Please feel free to reach out to me at anil.mahadev@embarcadero.com for any questions or visit our website for more information at:
![]()
You may also e-mail sales@embarcadero.com for more information
- Comments (RSS)
- Trackback
- Permalink
Great job Anil!